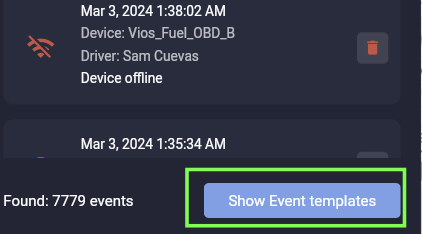
You can create an event in a few simple steps. First click the 'Show event templates' button.
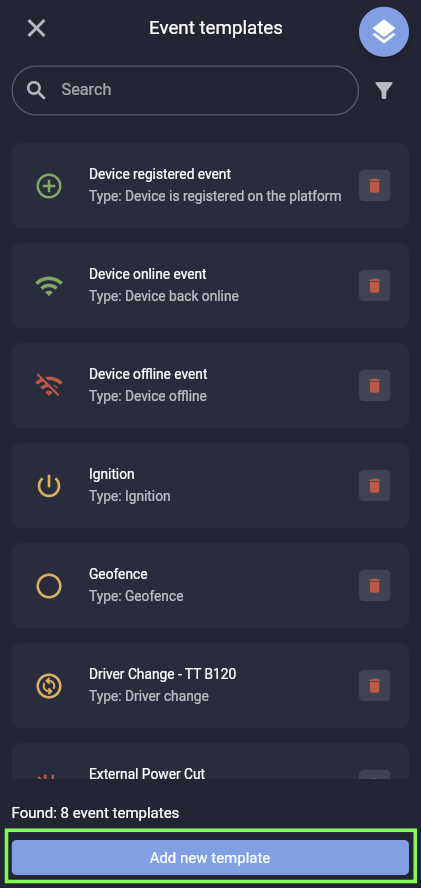
You will now see all the existing events that have been configured. Click the 'Add new template' button at the bottom of the page.
You will then see a pop-up window with various fields to fill.
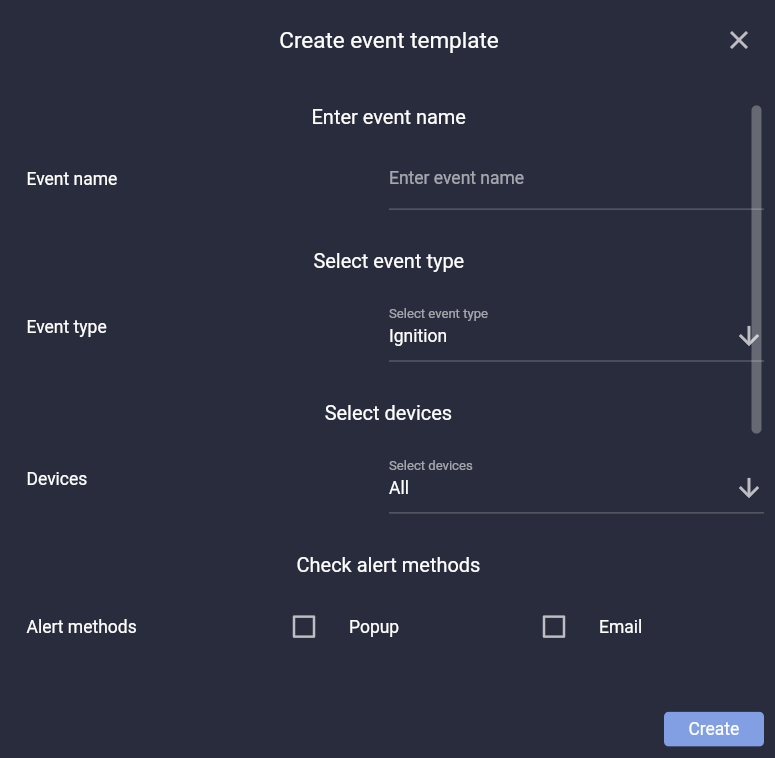
- Event name - give the event a name, it can be anything you want
- Event type - select the event type that you want to create
- Devices - you can select one or more devices that this event will be assigned to
- Alert methods - select how you will like to be notified in real-time when this event is triggered, there are several options:
- Popup - when you are accessing your platform account on a desktop or laptop you will see a popup message (on mobile devices you can receive push notifications on both android and iOS devices)
- Email - you can select various email addresses that will be sent the notification
- Event activity period - by default the event can be triggered 24/7 365 days per year. If you select 'custom period' you can tell the platform to only have the event active during certain days and times, this gives you the ultimate flexibility.
- Minimum time before the same event being triggered.... - here you can configure how often the same event should be triggered. For example, if the device is tampered and the power to the device is removed some devices will send out a 'power cut' notification every 30 seconds. If you were to input '5 minutes' in this field then the system will ignore the notification that is sent every 30 seconds by the device, and instead will only send you a notification every 5 minutes (if the event is still present)
When you are finished creating your event then click the 'Create' button and you're done!
END OF DOCUMENT