Route Planning
Route planning is a delivery module that helps you manage your delivery fleet more effectively by allowing you to assign and track jobs for each vehicle. It makes task allocation easier and ensures deliveries are completed on time. There are 5 statuses on deliveries that you can quickly see on the page.
Enroute - the vehicle is in transit to the destination (this is the only status which will not automatically update from Assigned to Enroute - this status is optional but can be triggered manually in the platform).
Arrived - the vehicle is inside the job geofence and has reached the destination.
Delayed - the vehicle is past the job time frame set.
Completed - the vehicle has already arrived and stayed for the specific period.
Failed - the delivery never arrived at the job geofence or couldn't be finished within the route time frame set.
Access route planning
To access this feature, navigate to the 'Fleet page', on the dropdown, select ‘Route planning’.
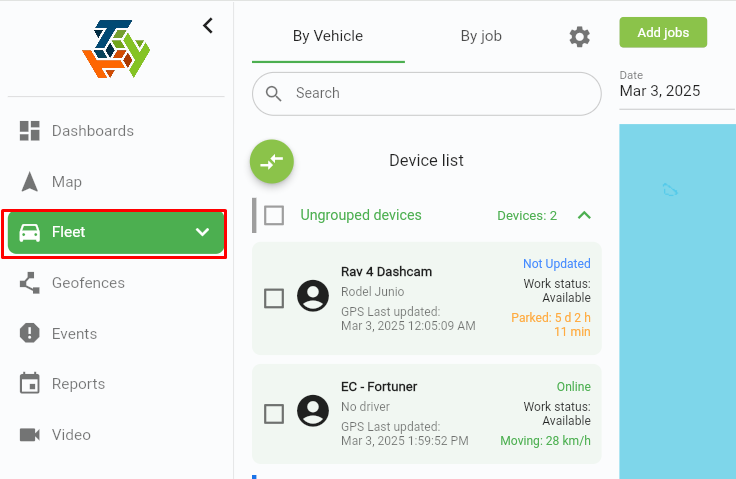
You can now assign and view the vehicle on jobs.
How to add customer and warehouses
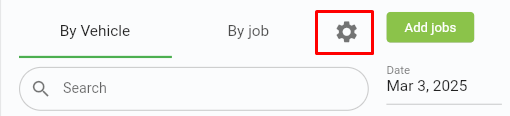
Click on the setting icon above, then select ‘Customers’ or ‘Warehouses’.
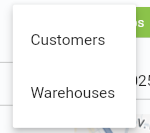
This will display your list of customers/warehouses. If no customer/warehouses exists, you can add them.
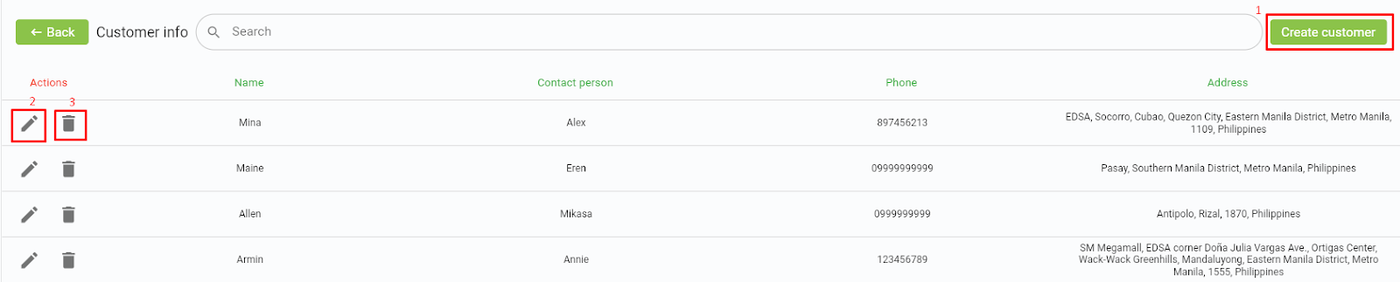
1. Create customer/warehouses - enter the relevant customer/warehouses details. Once completed, click 'Create' to add them to your list.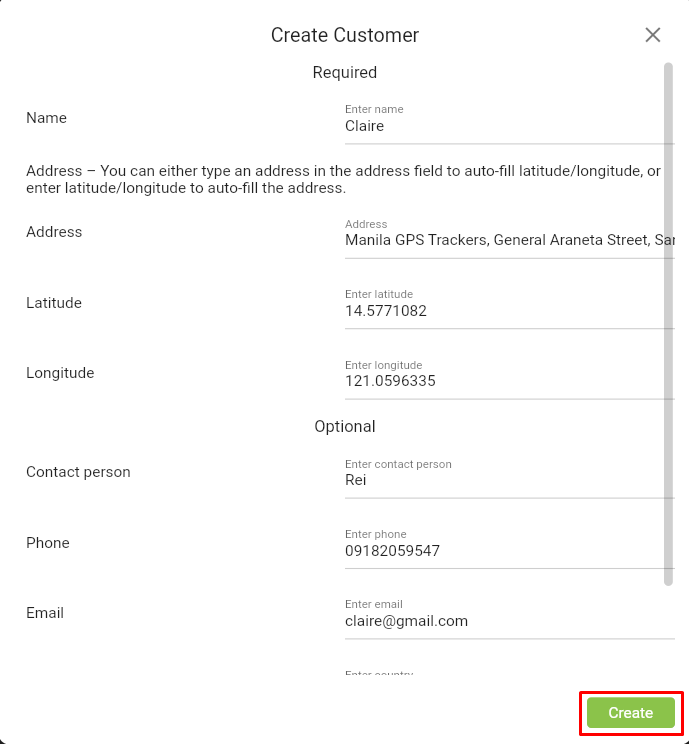
Edit - allows you to modify the details of an existing customer or warehouse.
4. Delete - permanently removes a customer or warehouse from the list.
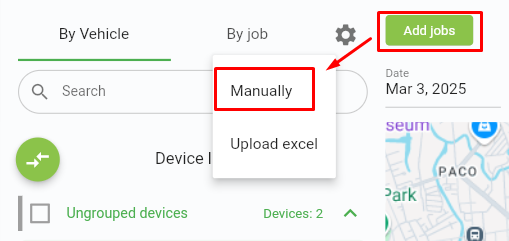
How to add Jobs
Simply click on ‘Add Jobs’ found in the route planning page. From the dropdown, you can either select Manual entry or upload an Excel file for bulk creation of jobs.
You can start filling up the necessary fields.

- Device - select the device that you want to assign a job to.
- Route start and end time - set the time frame within which all jobs should be completed. If not completed within this time frame, the status will show as 'Failed'.
- Warehouse - choose the warehouse where the vehicle will depart from.
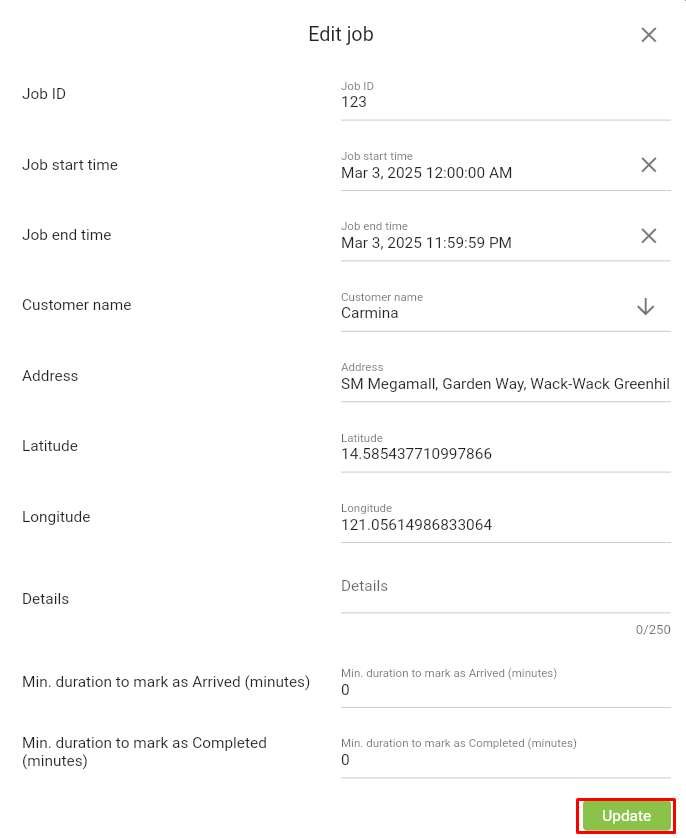
- Job ID - enter the unique ID for the job.
- Customer name - select the customer that will be the delivery destination.
- Job start/end time - set the specific schedule for the job.
- Modify Job Address - if you need to change a customer's address before creating a job, this feature allows you to easily update it and adjust its geofence radius. After making the necessary changes, simply click ‘Update’ to apply the modifications.

a. Resize geofence - the job geofence determines when a vehicle enters or exits a designated area, which triggers updates to the job's status. To resize the geofence, you can either enter the desired radius (in meters) manually or use the slider to adjust the radius to your preferred size.
b. Change location - you can easily change the job’s destination by simply dragging the geofence’s circle to the new address on the map.
8. Details - add additional information about the delivery.
9. Min. duration to mark as Arrived (minutes) - set the minimum time (in minutes) the vehicle must remain within the geofence before the status updates to 'Arrived'. Users can leave at zero (but not blank), and the status will update as soon as the vehicle enters the geofence.
10. Min. duration to mark as Completed (minutes) - set the minimum time (in minutes) the vehicle must stay within the geofence before the job can be marked as 'Completed'.
Two conditions must be met:
i. The job must already be in 'Arrived' status.
ii. The vehicle must exit the geofence.
11. Delete Job - permanently removes the job.
12. Add job - click to add another job to the same route.
Once the details are filled up, click ‘Create’. You will then be able to see all the jobs you've created in the route llist.
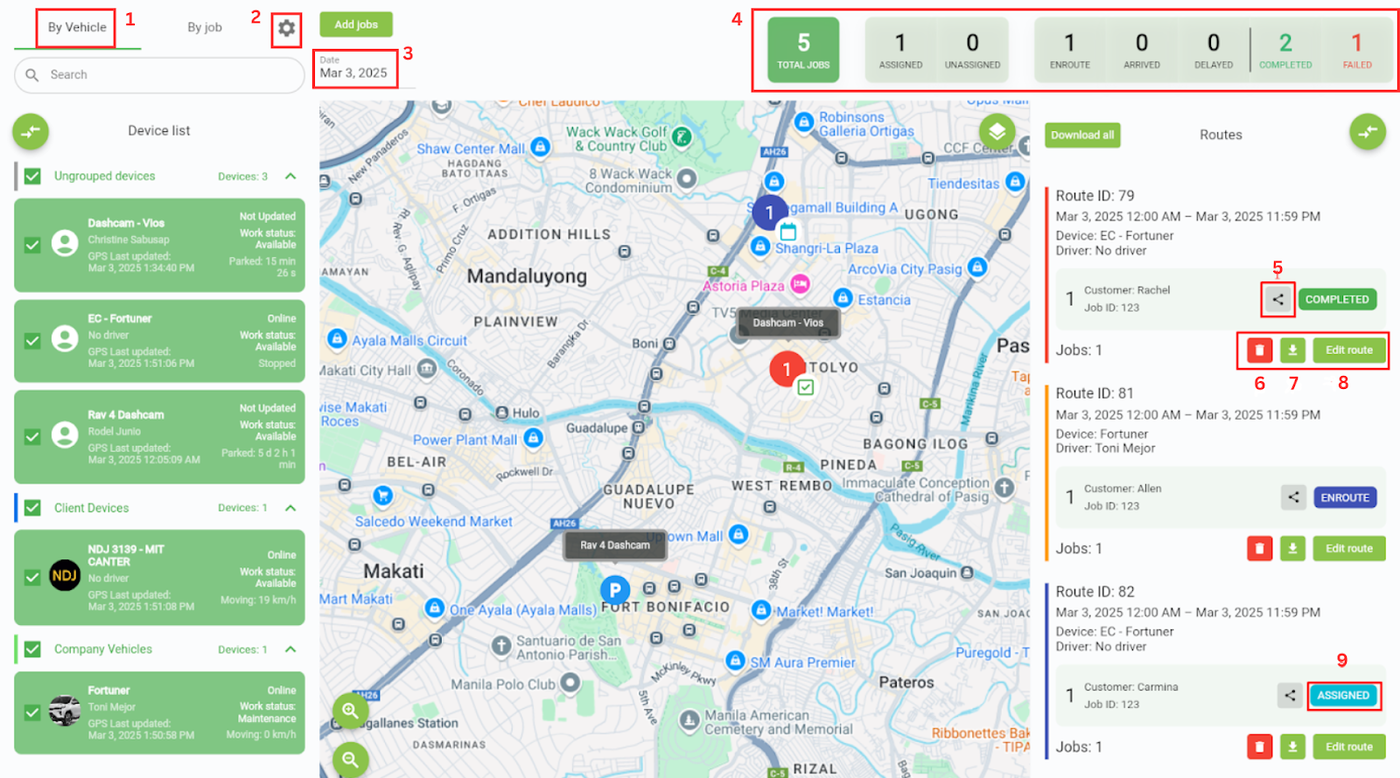
Route Planning Page
-
By vehicle tab - This is your master list of vehicles with assigned jobs.
-
Job settings - you can add customers and warehouses.
-
Date range - select a date range to view the job list for that specific period.
-
Actionable widgets - click on these icons to navigate to the job’s location and view job details in a new panel, making it easier to manage and access job information
-
Share job link - This allows you to send the job link directly via email and set an expiration date for the link. You can input up to 10 email addresses, and the link will be sent to those recipients automatically.
-
Delete route - This action will permanently remove the route. Once deleted, the route cannot be recovered.
-
Download route - lets you download the route details as an Excel file.
-
Edit route - This will allow you to modify the existing route details. You can edit the description, change location and add or remove jobs.
-
Assigned - click this to update the vehicle's status to ‘Enroute’.
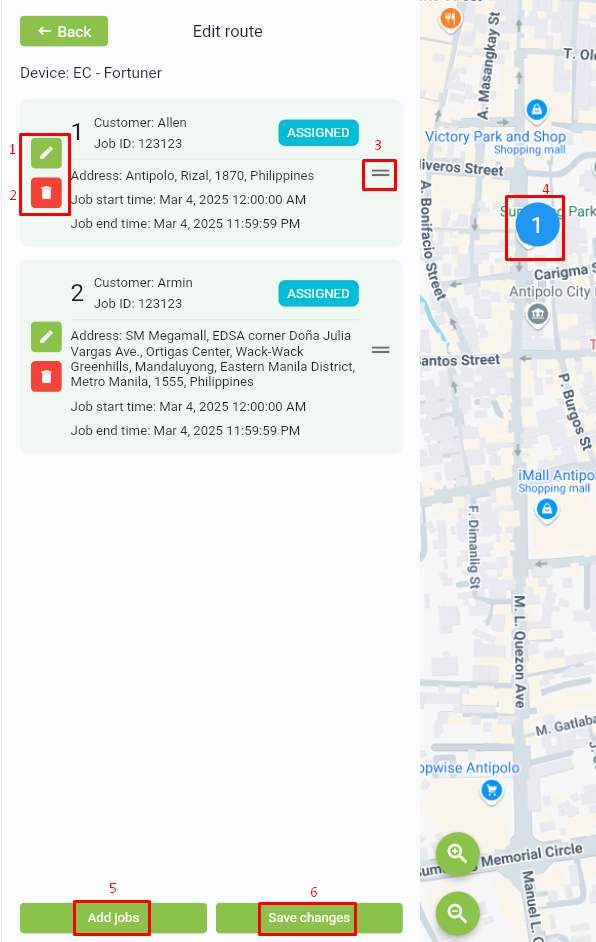
How to edit route
-
Edit jobs - This will allow you to modify the existing job details. You can edit the description, change location and add or remove jobs.
-
Delete jobs - This action will permanently remove the job.
-
Drag icon - drag to easily rearrange the order of jobs.
-
Job widget - drag to change the location of the destination.
-
Add jobs - click to add more jobs to a single route.
-
Save - after making updates or adding/removing jobs, click ‘Save' to ensure all changes are saved.
Search for Distance & ETA
On the same page, you will find the distance and ETA icon. By entering the start and end addresses, you can quickly determine the estimated time of arrival and distance. If you need to make adjustments to the locations, you can also easily drag the two points.. This allows you to have the information ahead of time before assigning tasks.

END OF DOCUMENT